Low Volume Production for a Multi-Camera Aluminum Housing with CNC Machining Techniques
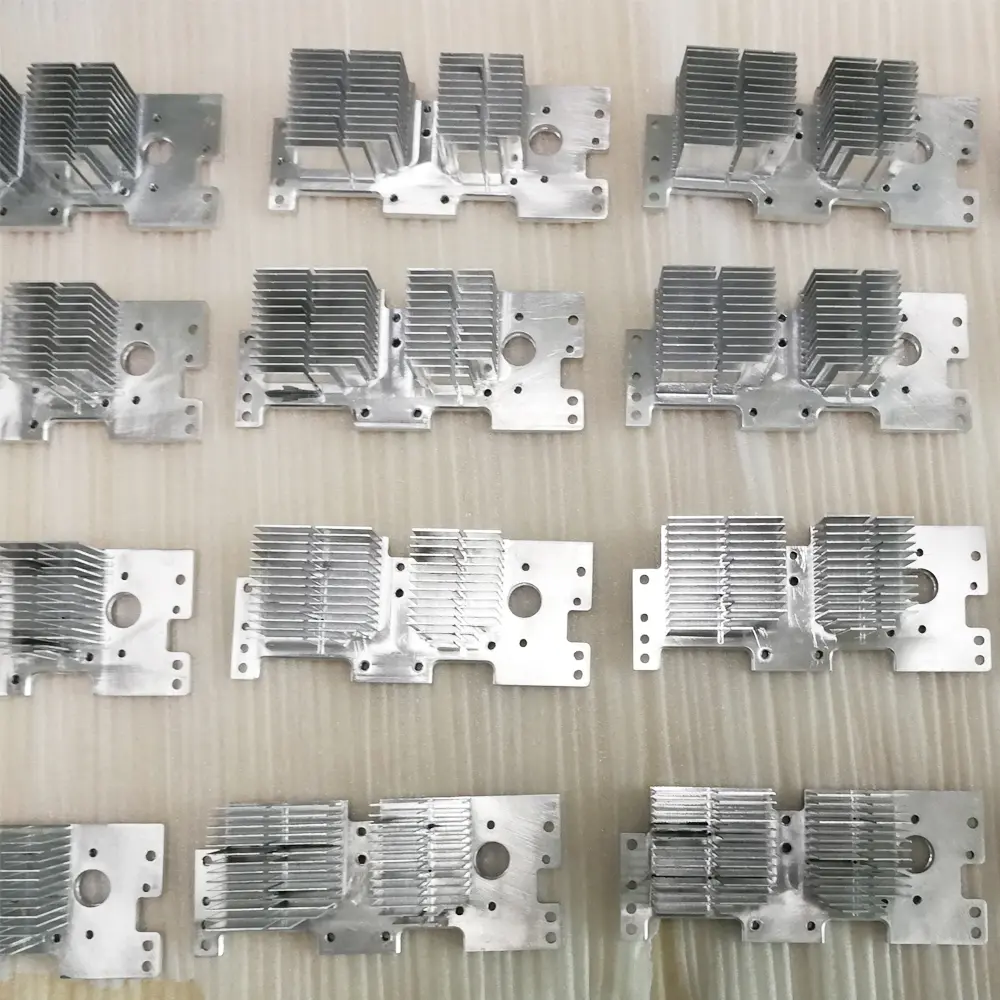
Aluminum VS Copper Heatsink with High & Thin Fins in Which Cutting Depth is Nearly 20 Times Bigger than Cutter Diameter
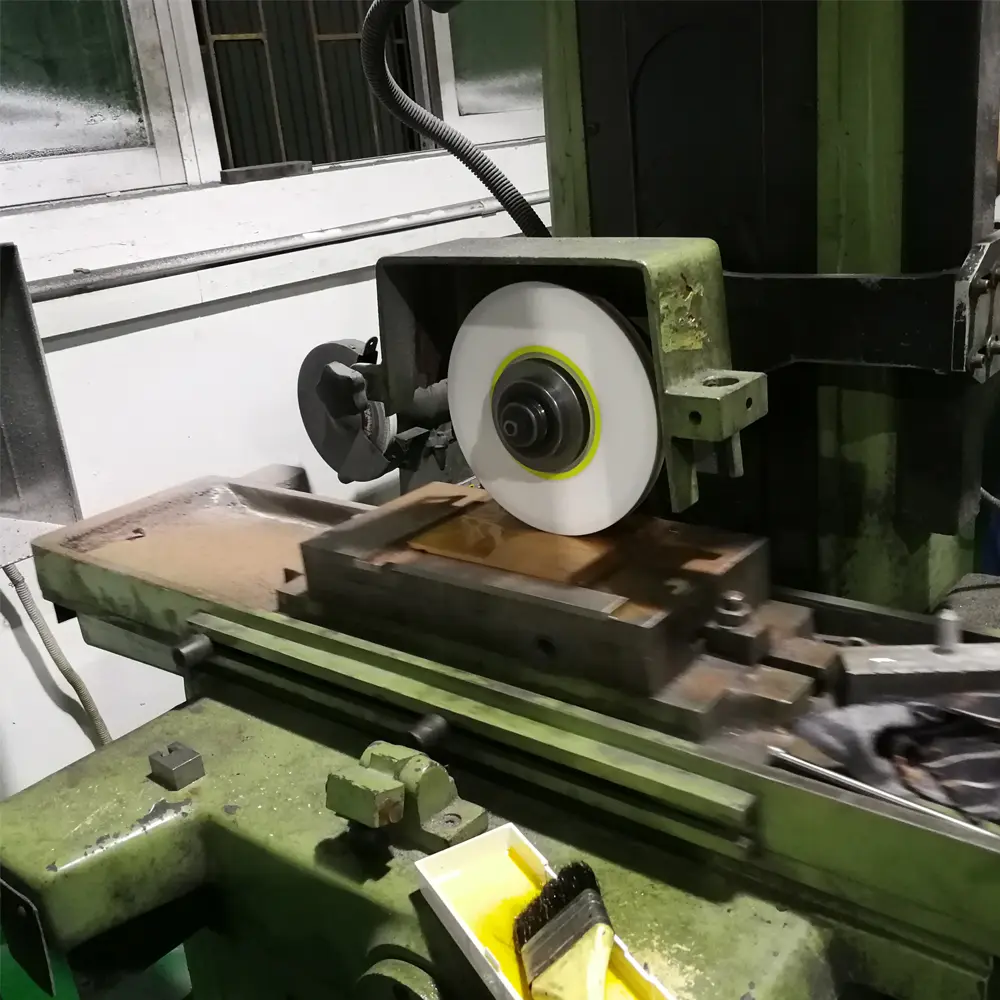
Copper Covers with Machined by CNC Machining and Grinding Processing for Back Surface Because Its Flatness Tolerance of 0.01mm
Manufacturing Services: CNC Machining, Grinding
Finishing Services: Polishing
Material Used: Copper
Prototype Type: Copper plate manufacturing process Prototype
Challenge: Using CNC machining to achieve 0.01mm flatness
Prototyping Quantity: 18 pcs
Lead Time: 6 days
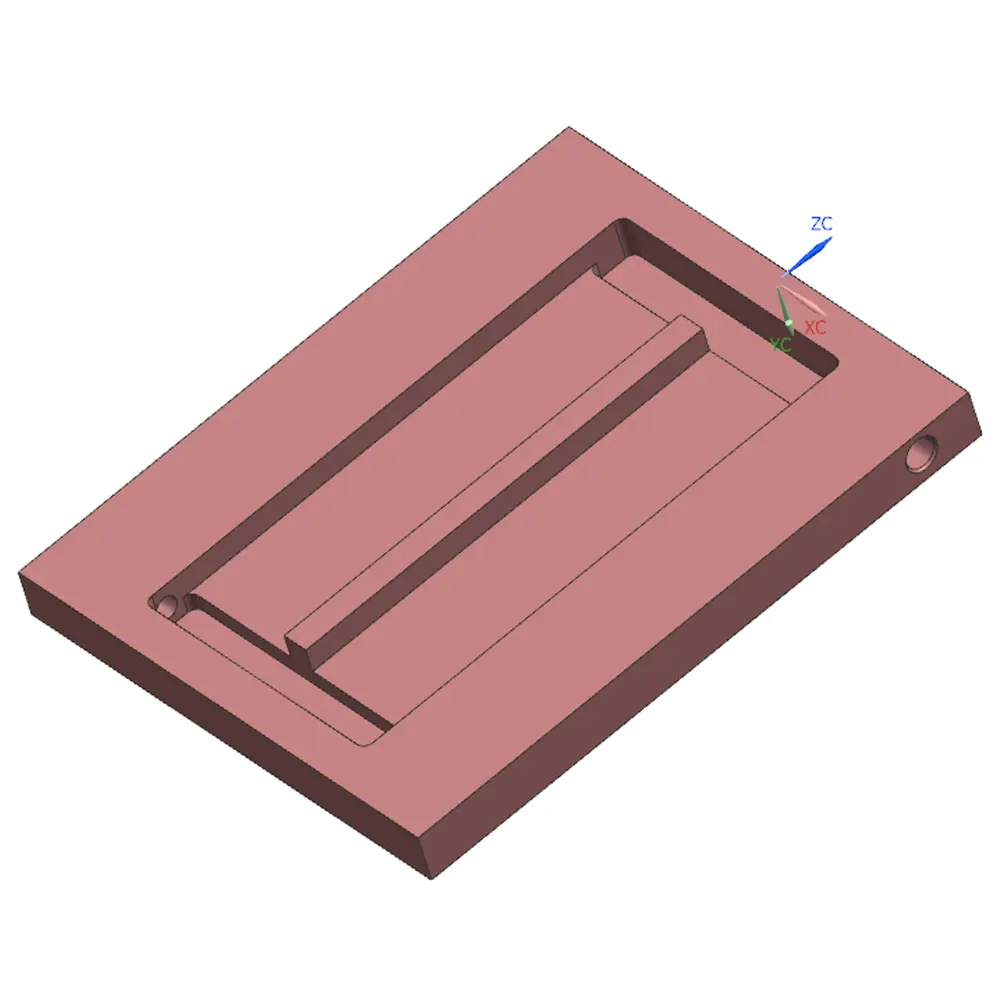
About the Copper Plate Manufacturing Process
This is a project from our US customer. He needs 18pcs prototyping samples for assembly and thermal testing. If the prototyping samples work well, he would need a low-volume production for next build. Before this build, he tried making these parts with aluminum, but failed in thermal test. So, this time, he changed the material from aluminum to copper.
The copper covers need to be installed onto other parts with very smooth back surface due to thermal conductance requirements. The matching surface area is very important in assembly since the surface quality will affect the thermal radiating. So, the surface flatness was called 0.01mm in the drawing and also, we have to do 100% inspection. For the copper plate manufacturing process, we usually use CNC machining, but with the requirement of 0.01mm flatness of the back surface, we don’t think CNC machining can achieve it. But we decided to try it.
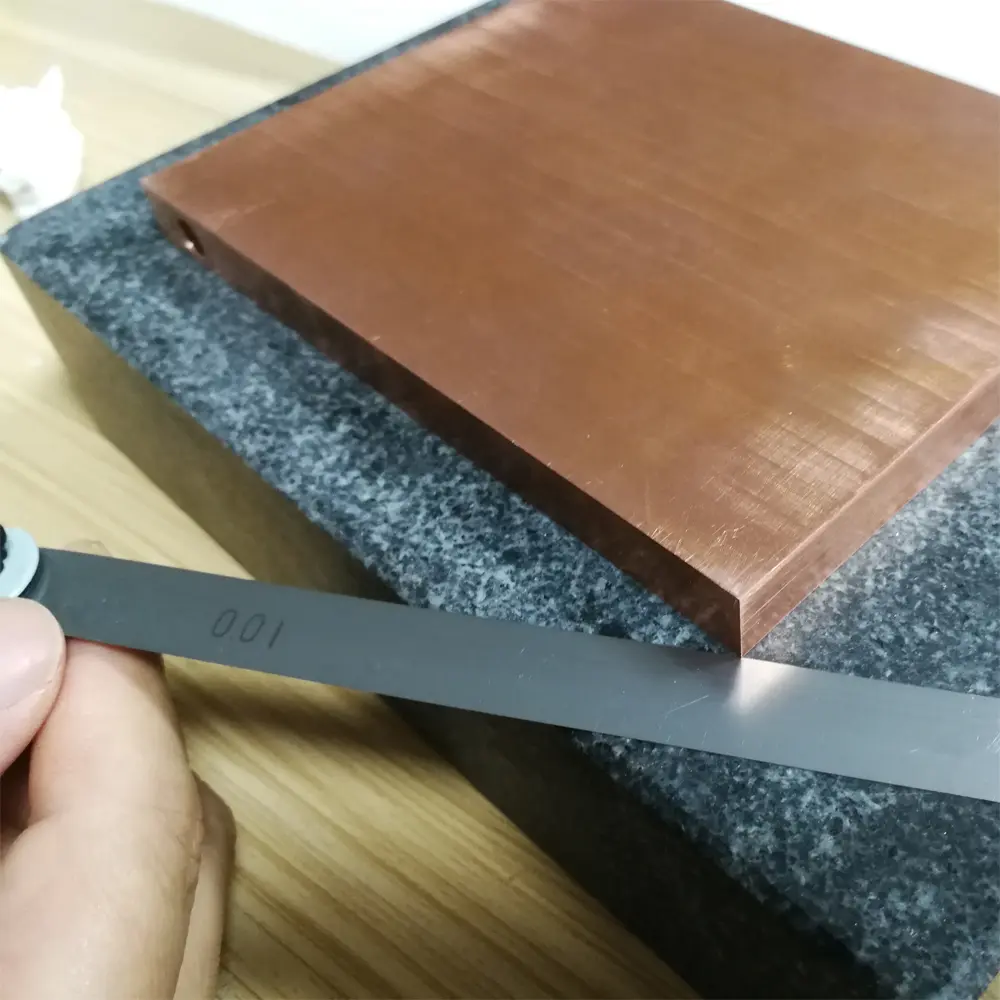
Challenges in Copper Plate Manufacturing Process
For copper plate manufacturing process, we usually use CNC machining. But for this project which has a surface need 0.01mm flatness, it is a great challenge. Follow to our process designing, we tried to use CNC flying cut and fine cut for the back surface of the copper plate to save cost for both sides, but the flatness always cannot reach the specification. Then, we realized that the failed flatness should be caused by machining stress because the flatness measured within 0.01mm on CNC machine, but has some points out of the spec once we took them out from the machine.
So, finally, we remade samples with leaving 0.1mm thick material and then use grinding process to make the surface smooth in better flatness. After grinding processing, we take out the parts and leave them for 24 hours and then reloaded to grinding machine and do fine grinding again. Finally, we are so lucky that we got the right copper plate manufacturing process. And this process achieved a very smooth and flat surface. All the parts were made into the customer’s specification after inspection. For more cases, you can review on our Facebook page or YouTube channel.
